

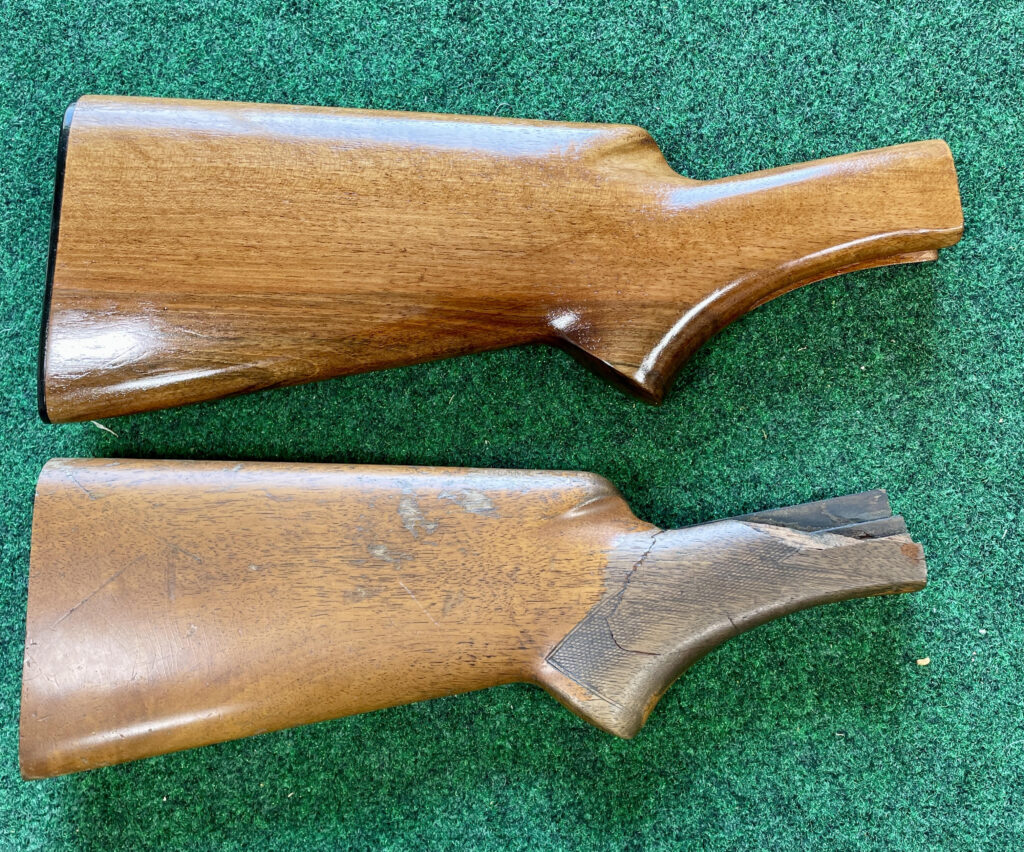
I often get firearms in with broken stocks. Many of these are two-piece stocks where either the forestock or buttstock needs to be replaced or repaired. Frequently, the checkering pattern on the forestock or wrist of the stock is damaged, worn off, or lost during the repair and to do the job appropriately, the original checkering pattern must be captured from the original stock. You might get a full panel for one side or just fragments due to wear and damage. And on two-piece stocks, the patterns need to match between the forestock and buttstock!
I’ve been asked how I copy original checkering and make a mirror image of the pattern on the other side so accurately. As with anything, there are tricks (used to be called the “mysteries of the art” back in the day of the Guilds). The first thing to be understood is that these are often compound curved surfaces, as in the wrist of the Browning A5 shown here as an example. Making a flat paper template can be done if you are creating a new design on a new custom stock, but to get a pattern off from the original is a bit more involved.
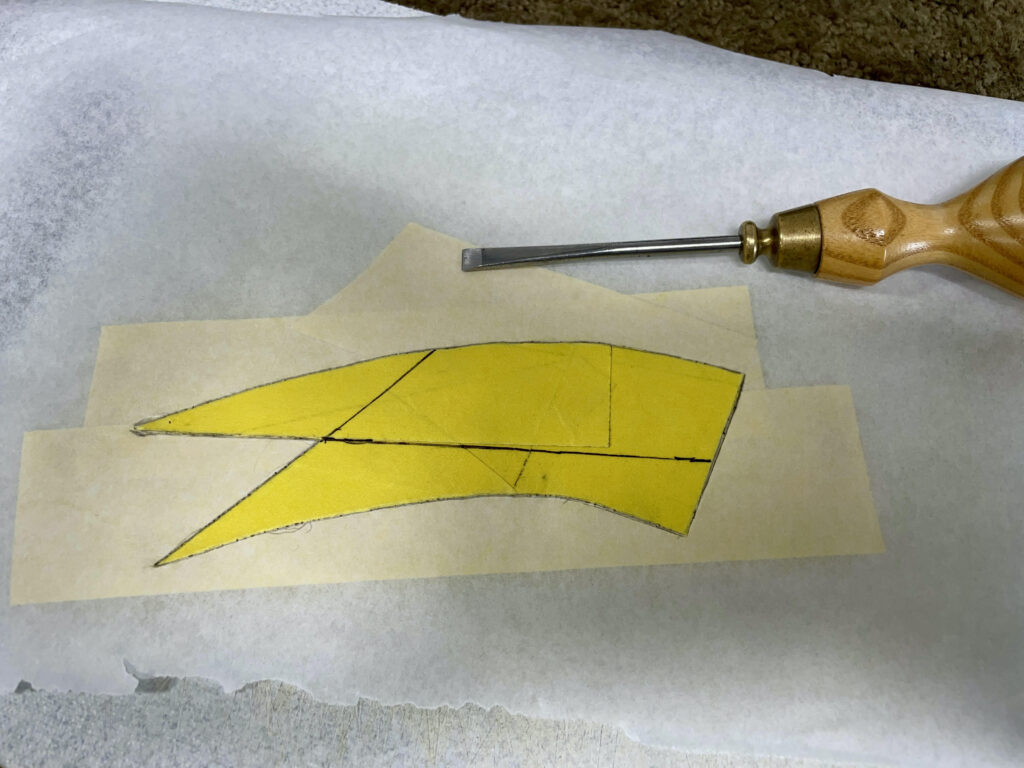
Due to wear from years afield on this shotgun, the lower portions of the wrist checkering have been worn completely away on the undamaged side. First step is to reestablish the panel’s boundaries. After drawing in replacement border lines with a grease pencil, I use a small sharp flat double-edged carving chisel (seen in later photos) to incise new boundary lines on the old checkering panel.
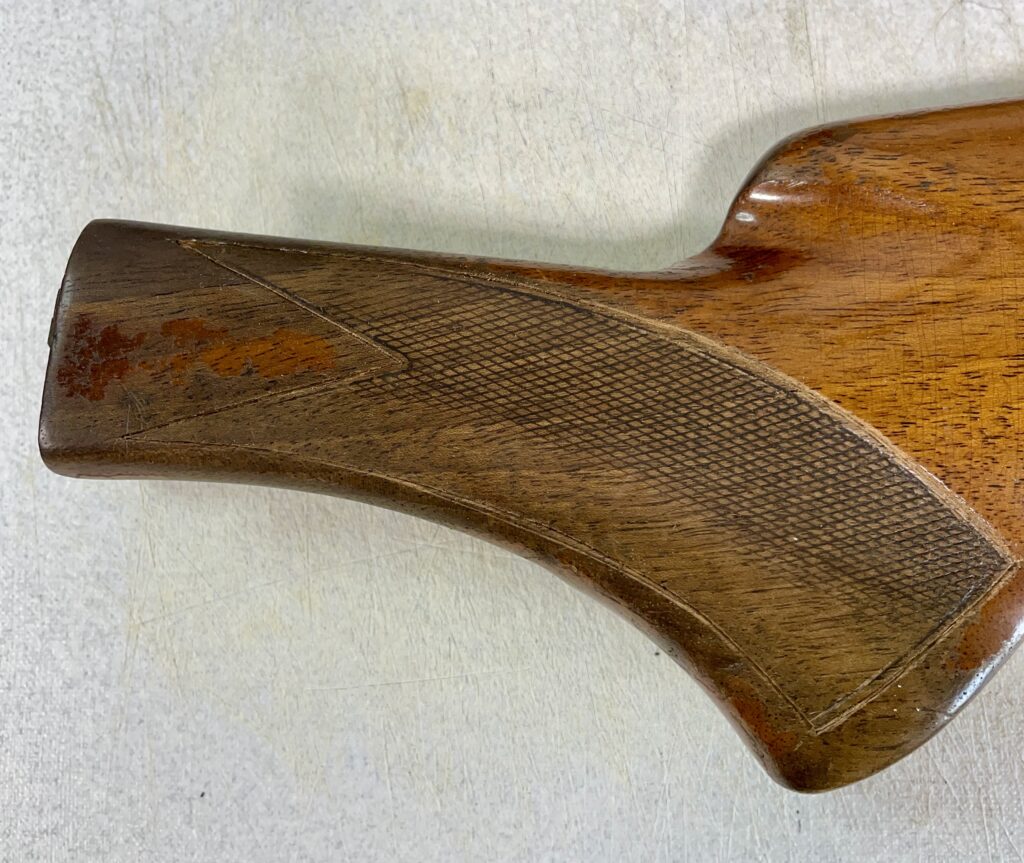
The best way to do this type of cutting is the old school carver’s and woodworker’s approach of “rocking the chisel” along the line, advancing it one-half to two-thirds the blade’s width. This gives you an even guided cut. A big advantage t this approach is that you are not removing wood…you are just creating a track for your pencil, thumbnail, checkering tool to follow later. I usually make a few passes around the panel so I can get a clear delineation and adjust any areas where I’m not happy with the flow of the border. The same approach is used when transfering a new pattern for checkering panels or carving details to a stock.
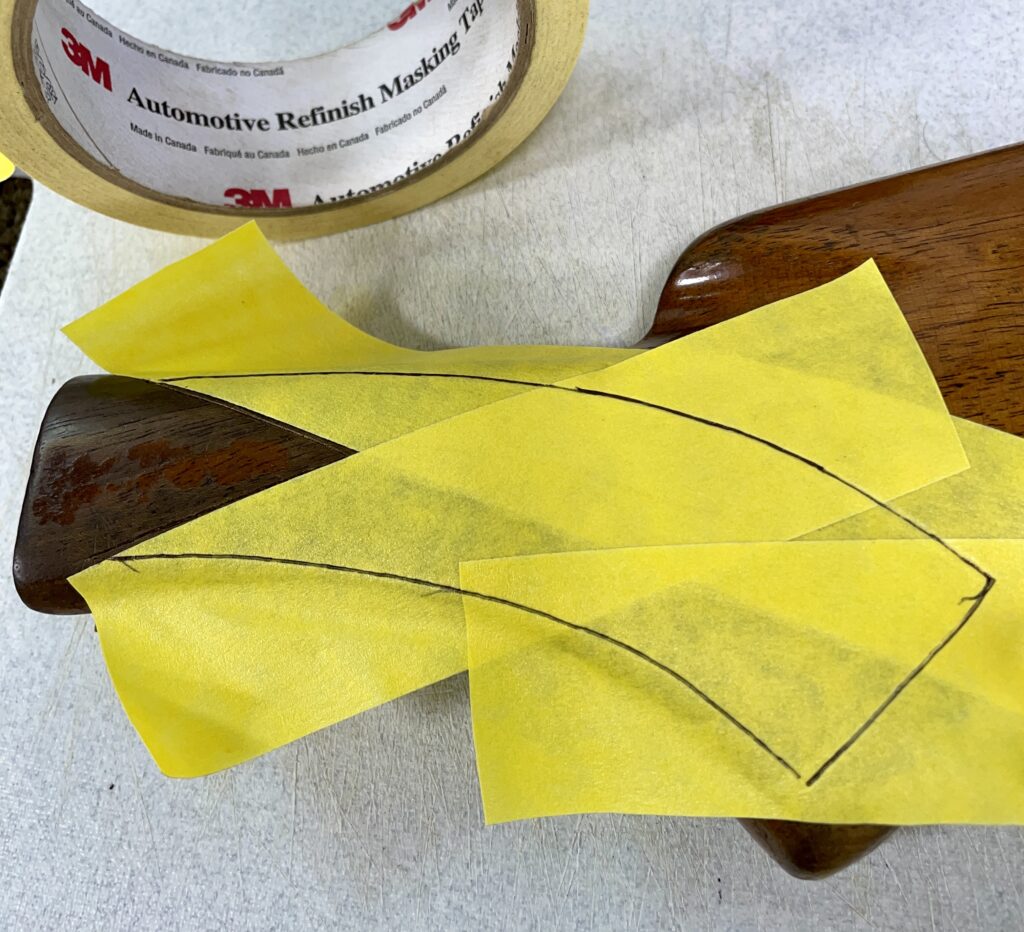
The next step is to apply a reasonably strong tape over the panel. I have found the best tape to use is the Automotive Refinish Masking Tape by 3M. This tape is flexible and does not leave any residues on the finished stock. Painter’s tape won’t cut it…ask me how I know! I usually begin with strips that run along the master lines of the pattern and then fill in the uncovered regions. Don’t try to stretch the tape around the compound curves…just use smaller pieces.
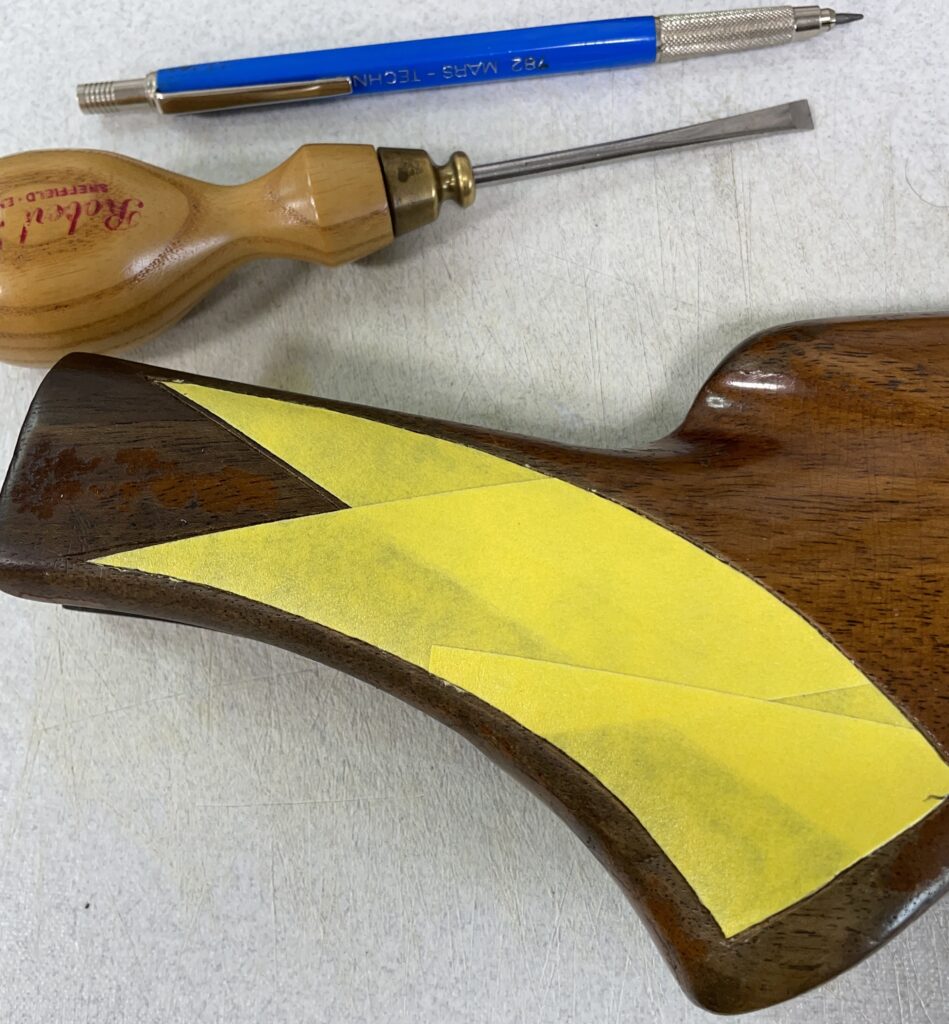
Next I follow the incised border that I cut around the pattern with a fairly soft lead pencil so that it is easy to see the borders and follow that with the chisel as shown here. Next step is to apply at least two more layers of the tape over the panels in different orientations to build up the template following this same process.

Once the template is complete, carefully peel it off the stock. If you made it thick enough, it should not stretch or deform. Stick this template down on a piece of Parchment Paper that is used in baking. Flip the paper over and apply layers of tape as before, marking the perimeter each time but not cutting it with the chisel…yet.
After sufficient layers are built up, flip the whole assembly over and then follow the edge of the original template with the chisel cutting through the parchment paper and tape layers. It is best to do these processes on a flat smooth cutting surface to protect the edge of the chisel…keep it sharp!
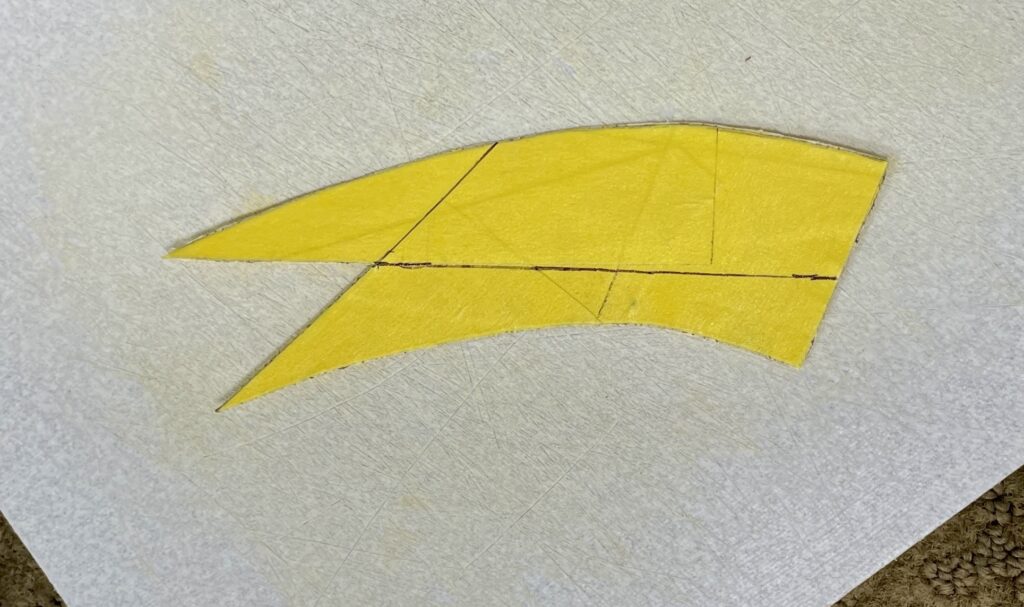
So, there you have it! You have mirror image templates of both sides of the wrist for the Browning A5 that can be easily peeled from the parchment paper and applied to the newly finished buttstock.
After the panel perimeter has been transferred to the new stock, gently peel off the template and stick it to a fresh sheet of parchment paper for future reference or use. It’s a good idea to stick a piece of tape on the sheet and record the details of make, model etc., as well as the LPI (Lines Per Inch) and any other details you find necessary.
Well, hope you found this interesting or helpful and the folks who have asked me about this got what they wanted! Feel free to comment or shoot me an email if you have any questions.
JUHTtsYV
XbPdRTnAKMixUQ
TZxRGsbqYa
USkXWGlIrwQRp
nZjRLUAeQ
jYGepTlLJEIiARnc
DcRptKghAFkBCe
TwLkuoJMVmniWXAj
TwLkuoJMVmniWXAj
kyYRDtHKmvjqx
XQFZAMagKnp
abKMwmoOBGqr
nGdtmVgbusCWZeh
Destiny4231
* * * Get Free Bitcoin Now: http://xochitl.shop/index.php?sox86i * * * hs=96d481025a0c96410f88627e17c987c6* ххх*